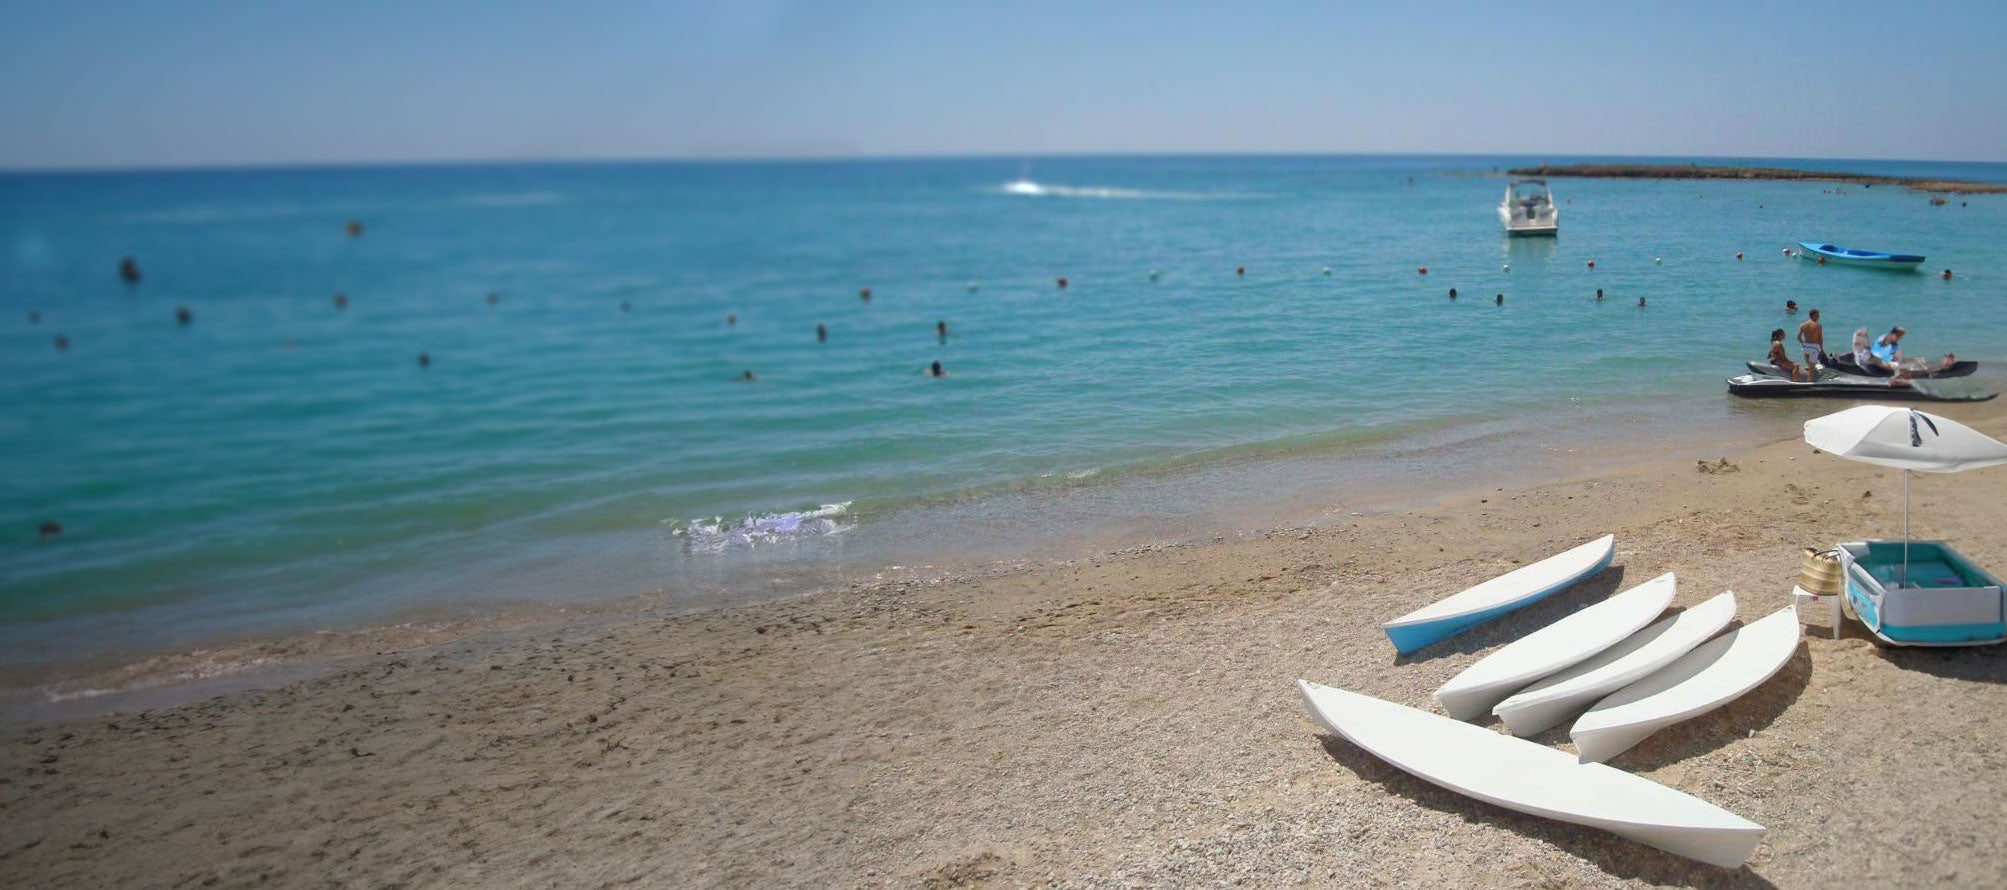
HASSKEH Instructions & Recommendations
Inflating your HASSKEH
- Preparation: Begin by removing your HASSKEH from the carry bag and laying it out on a flat surface with the top side facing up.
- Pump Setup: Set up your pump and ensure that the hose is properly connected to the "inflate" mode.
- Valve #1: Locate Valve #1, which controls the middle section separating the top and bottom sections. There's no need to inflate this section to any pressure; it's recommended to leave the pin in the "Deflate" (down) position, allowing some air to remain in that section.
- Valve #2: Move on to Valve #2. Take note of the indicated maximum and minimum pressure levels. Attach the pump hose securely in the locked position of the valve, and inflate with the valve pin in the UP position. Inflation should range between 8 and 10 PSI, depending on your preference.
- Valve #3: Lastly, proceed to Valve #3. Again, make note of the maximum and minimum pressure levels. Attach the pump hose securely in the locked position of the valve, and inflate accordingly. A pressure of 9 PSI is generally sufficient for a great ride. However, you can adjust the pressure to suit your preference and riding experience with HASSKEH. Always follow the recommended minimum and maximum pressure levels indicated on the valve.
Your HASSKEH should now be rigid and stable. Close the valves securely, and you're ready to transport your HASSKEH to the water for an exciting adventure.
Deflating your HASSKEH
- Retrieve and Position: Begin by carefully carrying your HASSKEH out of the water and laying it on a flat surface.
- Valve #3: Open Valve #3 to initiate deflation of the bottom portion. If you prefer a quicker deflation, you can use the pump to assist in this process.
- Valve #2: Open Valve #2 to deflate the top portion. Just like with Valve #3, you can utilize the pump to expedite the deflation if desired.
- Valve #1: Valve #1 should already be in the open position. If it's not, open Valve #1 to allow the middle section to deflate.
- Release Air: With all the valves open, the air will naturally escape due to the high pressure inside the iSUP. Using the pump in deflate mode can help accelerate this process.
- Rolling the HASSKEH: Start rolling up your HASSKEH from the front side (the tie-down side), ensuring that all valve pins remain locked in the down position. This will help remove as much air as possible during the rolling process.
- Secure with Strap: Use the supplied strap to secure the rolled HASSKEH.
- Storage: Place the rolled and secured HASSKEH inside your carry bag for convenient storage until your next adventure.
Some recommendations & warnings using your HASSKEH
- Make sure that your HASSKEH is fully inflated to the recommended Max or Min PSI pressures for Valves 2 and 3, currently the range for Valve 2 and 3 is between 8 to 10 PSI.
- Avoid inflating your HASSKEH in direct sunlight for extended periods. Prolonged exposure to the sun's heat can cause the air inside to expand, potentially exceeding safe pressure limits and damaging your board. Inflate your HASSKEH in a shaded or cooler area whenever possible to prevent overinflation
- Once inflated and in the water, the HASSKEH should not bend, it will flex with the added weight, but it should not bend and create a crease.
- Valve 1 is for the middle section separating the top and bottom sections. There is no need to inflate this section to any pressure, we recommend leaving the pin in the Deflate (down) position allowing some air in that section.
- If you are paddling in open water, such as a lake or the ocean, make sure that you use the ankle leash. If you fall off the board in open waters, you could get separated from your board, possibly stranded and not able to reach it again.
- If you are paddling on a river, do not use the ankle leash. If you fall in this situation, your board could pull you under the water while it continues going down the river. There is also the hazard for the leash getting caught on objects floating on the river (tree branches, rocks etc..) pulling you off the board.
- Never leave your board, even if you lose your paddle. You can still paddle your board with your hands, which is easier than trying to swim back to shore.
- If you want to carry a small cooler, floating jackets or other objects use the Tie Down to hold them down. Do not leave lose objects on top of the HASSKEH while paddling as you might trip on them and fall off the iSUP.
- You can stand, or sit, at the rear or the middle of the HASSKEH to paddle. If you have 2 or 3 more people with you, you can sit at the back of the HASSKEH and paddle the group around. always use caution when multiple people are on the HASSKEH with you.
- If you are paddling close to a rocky shore, or close to rocks with sharp edges, always be careful not to ram the HASSKEH into those objects as you run the risk of puncturing the drop stitch material and cause major damage to the HASSKEH.
- Consider taking a paddle boarding safety course to improve your skills and understanding of water safety.
- Keep an eye on the weather forecast and be prepared for changes. Sudden storms, strong winds, or lightning can pose risks, so it's best to head back to shore if you notice adverse weather conditions.
